

I have received quite a few emails asking me how to create a embroidery effect in Photoshop. It is a really nice effect and I had no idea how to do that in Photoshop. So one of these days while running I sort of had this idea of using the Scribble effect in Illustrator and then going to Photoshop to make it look real. After giving it a try I got a very nice result and that is what I share with you today.
So for this tutorial I will show you how to create a embroidery effect using Illustrator and Photoshop. The whole process is quite simple and it will take an average of 45 minutes to get it done.
Step 1
Open the logo or shape you want to apply the effect in Illustrator. In my case I am using the Abduzeedo logo, the 2011 version.

Step 2
Select the shapes and go to Effect>Stylize>Scribble. The Scribble Options will open and you will be able to customize the settings. The Abduzeedo logo has a sort of 3D effect, so I used different angles for the Scribble direction.

Step 3
Now it's time to go to Photoshop. The first thing to do here is to find a really cool texture. The one I am using is courtesy of Shutterstock and you can find it at http://goo.gl/PNAHF
Place the texture in your design. Again, the texture is really important to make your design look real.

Step 4
Copy the logo from Illustrator and paste it in Photoshop. I aligned it in the center of my canvas.

Step 5
Go to Layer>Layer Styles>Inner Shadow. For the Blend Mode use Color Dodge with white for the color at 45% Opacity. For the Angle use 90º, 3 pixels for the Distance, 0% Opacity and 3 pixels for the Size. Also for the Contour use the one I used in the image below.

Step 6
Select Inner Glow. For the Blend Mode use Linear Burn with black for the color at 40% Opacity and 0% Noise. Change the Size to 8 pixels and keep the rest as it is.

Step 7
Duplicate the layer once and move it up a few pixels and to any size a few pixels as well.

Step 8
Duplicate the layer a few more times and move it to the sides and up and down. The idea is make it look less uniform. After that select all layers and merge them (Layer>Merge Layers)

Step 9
Go to Layer>Layer Styles>Drop Shadow. Use black for the color with Color Burn for the Blend Mode and 50% Opacity. For the Angle use 120º, for the Distance keep 0, for the Spread use 0% and for the Size use 15px.

Step 10
Select Inner Glow and then for the Blend Mode use Color Dodge at 50%, white for the color, Center for the Source, 0 for the Choke and 40 pixels for the Size.

Step 11
This is the result after the layer styles. The whole idea is to create the highlight and the depth that we always see on the embroidery effects.

Step 12
Here I added the Abduzeedo word with the custom font with the same effect. Just repeated the previous steps.

Step 13
Select all layers and duplicate them. After that go to Layer>Merge Layers. You can use the keyboard shortcut for that Command (mac)/Control (pc) + Shit + Alt + E. Then go to Filter>Blur>Gaussian Blur. Change the Blend Mode to Screen.

Conclusion
Go to Layer>Layer Mask>Hide all then with the Brush Tool (B) and a very soft brush with white start painting in the center to make that area visible.
As you can see the technique is pretty simple, it's all about some layer styles and the Scribble effect in Illustrator. There's also another ways to do that, like with custom brushes, but I think the scribble filter does a really good job for a quick result with nice realism.

Download the Photoshop File
Click here to download the Photoshop file used for this tutorial
About the author
Abduzeedo is a blog about design. There are all sorts of articles for those who want to look for inspiration. Also you will find very useful tutorials for the most used applications out there, with a special selection of Photoshop Tutorials and Illustrator Tutorials. You can get in follow us via Twitter at @abduzeedo
Sponsored Links:


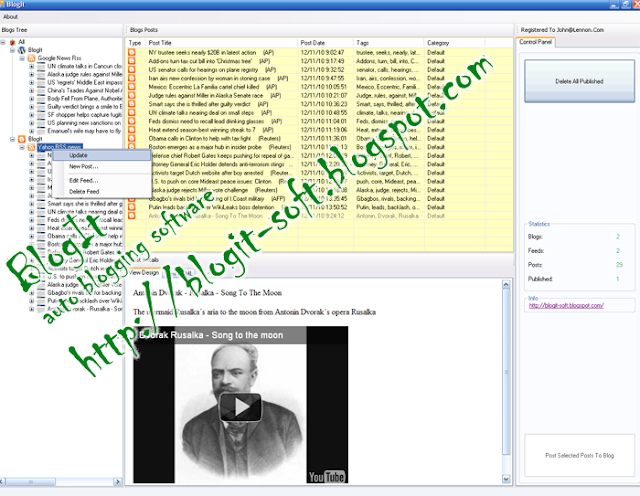
Generated by BlogIt
BlogIt - Auto Blogging Software for YOU!


 HTC’s latest superphone for the year, the HTC Sensation 4G as it is known on T-Mobile, will also be arriving on AT&T albeit in an unofficial manner, sporting 4G connectivity on that network as well. Just to keep you up to speed, what does the HTC Sensation bring to the table? We are looking at a new dual-core 1.2GHz processor from Qualcomm complete with 768MB RAM, in addition to a spacious 4.3″ qHD display.
