I woke up this morning thinking about an idea for a tutorial, then I remembered that last week I saw a really nice text effect that the characters were made of bread if I am not making any mistake. So I thought it would be really nice to create a text made of cookies just using Photoshop.
So in this tutorial I will show you how to create a really nice text effect playing with cookies texture and layer styles. The technique is super simple and the whole process won't take more than 30 minutes.
Step 1
Open Photoshop and create a new document. I am using 2560x1440 pixels for the size. After that double click on the background layer to make it editable, then go to Layer>Layer Style>Gradient Overlay. Use #fdebc2 and #f7efe0 for the colors, Radial for the Style and make sure the center is lighter than the edges.

Step 2
Add the text you want, I typed abdz using Cooper Std Black for the font because it is rounded and bold enough to make them look as they are made of cookies.

Step 3
Now let's use some real cookies texture. I used a stock photo from Shutterstock, you can find the one I used at http://www.shutterstock.com/pic-74918797/stock-photo-three-peanut-butter.... Cover the text with cookies and group them so they will be in a folder.

Step 4
Create a marquee selection of the text by clicking holding Command (Mac)/Control (PC) on the thumbnail of the layer. Then select the folder that the textures are inside and go to Layer>Layer Mask>Reveal Selection.

Step 5
Select the mask layer and go to Filter>Brush Strokes>Sprayed Strokes. Use the values below for reference.

Step 6
Still with the mask selected, go to Filter>Blur>Gaussian Blur. Use 2 pixels for the Radius. Tip: This value might vary depending on the font you are using and the font size as well.

Step 7
Still with the layer mask selected, go to Image>Adjustments>Levels. Change the values to 100, 1.00 and 150. The idea here is to fix the blurry edges by removing the greys. So we first made the edges irregular but it was too much, then with the blur we softened that but they got blurry, so with the Levels we make then again sharp and clear.

Step 8
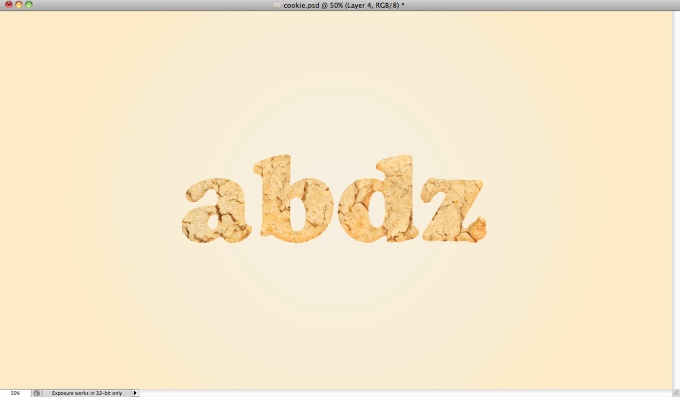
Here is the final result of the masking process. The cool thing about masking a folder is that you still have freedom to play with the layers inside it.

Step 9
Create a marquee selection of the layer mask that has all the irregular edges and then add a new layer. Fill this layer with any color and then go to Layer>Layer Style>Blending Options. Change the Fill Opacity to 0%.

Step 10
Select Inner Shadow and use the values below.

Step 11
Select Inner Glow and once again use the values below.

Step 12
At last but not least select Drop Shadow. Use Color Burn for the Blend Mode and use the image below for reference.

Step 13
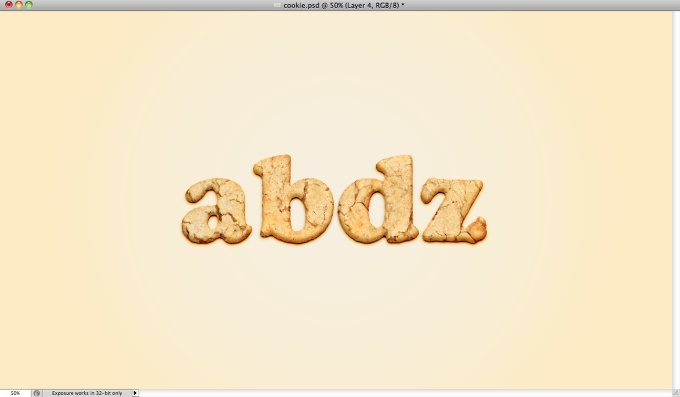
This is the final result with the layer with layer styles on top of the folder with the cookie textures.

Step 14
Disable the Drop Shadow and then select the layer with layer styles and the folder with textures. Then duplicate them and merge them onto new layer. Change the Blend Mode of this new layer to Overlay then.

Step 15
As you can see it was pretty easy to create the text with cookie texture, it was all about playing with masks and layer styles.

Conclusion
You can add more text and also rotate some characters in order to make them look more realistic. Also notice that the layer style values will change for smaller texts like the one below in which I typed the alphabet. The cool thing about this technique is that you can apply to all sorts of textures. Now it's all about playing :)

Click on the image for full preview
Download the Photoshop File
Download the Photoshop file used for this tutorial

Generated by BlogIt
BlogIt - Auto Blogging Software for YOU!


No comments:
Post a Comment